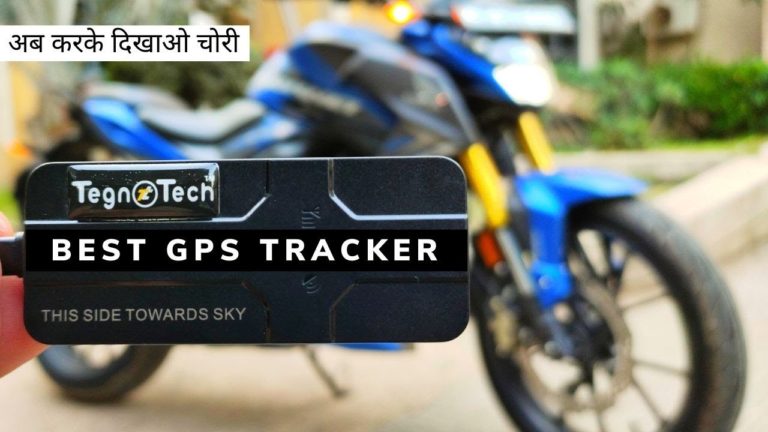
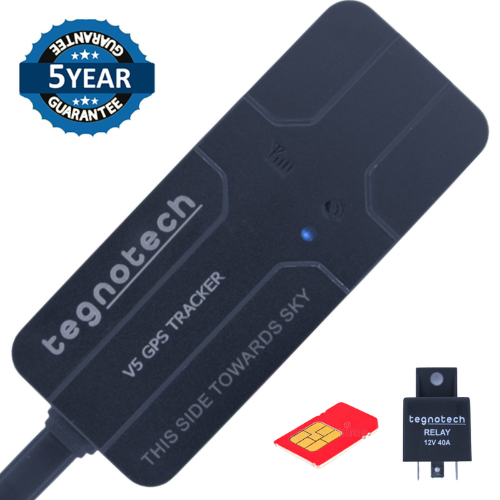
Cantrack GPS Tracker GF-10 Commands & Settings Finger GPS Mini
Cantrack GF-10 GPS Tracker Commands & Settings Finger GPS Mini
Cantrack GPS Tracker GF-10 | GF-09 | GF-07 Commands & Settings.
As per my knowledge whoever has purchased this device is not been able to use it because there is a lack of customer support or no proper instruction like how to use it.
There may be some customers who are using it’s SMS Tracking feature by calling the sim card number installed in the device and the GPS Tracker reply with Google map link with its current pin point location only.
Because either customer don’t know how to login application neither they know which application supports this GPS Device.
In this video we will tell you how to run this device with a tracking application and the get the full benefits of this Mini GPS Tracker as mentioned below.
- Real-time Tracking on application
- 60 days History Playback
- Voice monitoring
- Geo-fence
- Over-Speed Alerts
- Low Battery Alarm
First we will tell you how to register your number with the device. So, whenever you call the device sim number, your call will be auto answered and you can listen the voice around the tracker.
For this you need to register your mobile no in GPS By sending below SMS commands to the sim card installed in device.
Center no registration
Go to your SMS section in your mobile and type CENTER,A,MobileNO# and send this to the sim card number installed in the device (no need to put country code before mobile no). The device will replay CENTER,CONFIG OK
NOW YOUR MOBILE IS REGISTERED IN DEVICE.
Enable Voice monitoring
Next we have to enable the voice listening feature of this device. For this type JT,1# and send it to device. Device will reply JT,CONFIG OK
Now whenever you call the device instead of giving the Google map link, it will auto answer the call and you can listen the voices around the device.
Next how to get the real-time location on application with 60 days history data and other useful features.
Tracking Account registration
Go to the 99gpslogin.com and create an account with your email id & the password will be mailed to you.
Login your account.
After login you will see no device in your account.
For this you have to add your device in the account created.
Click on add device icon
Give any name to your device
Insert device’s correct IMEI no.
If you don’t know the IMEI no of your device send command Param# to the device and it will replay 15 digit IMEI no of your device with some other details. (insert this IMEI no and click save)
Now your device is added in account created but it is showing offline / NO DATA.
For this we have to configure the device so that it will make connection with GPS Tracking Server and upload it’s location.
IP & Port Settings
Now send command IP,www.99gpslogin.com,10400# device will replay IP,CONFIG OK and in a few minutes device will send location data on server.
APN Settings
Send Command APN,airtelgprs.com#
NOTE- for all these settings GPRS Data (2g internet Plan) and some balance must have to be available in the sim card installed in device. If still your device do show online on our tracking platform/ Application may be you need to move your device from it’s place to 500meters and it will wake up and upload location data.
To enable the power saving mode send command WKMD,1# to the device. Whenever device is not in moving mode it will not upload location and save battery backup.
We suggest you to download our mobile application 99gpslogin from Google play-store and login it with the same user id and password created earlier.
If you think you have messed up with the settings you can always reset the device by sending command FACTORY# and you can always start from beginning.
Now you can use this tracker with ease.